네비게이션과 네비메시에이전트에 대한 설명 블로그
https://m.blog.naver.com/PostView.nhn?blogId=thanksyo&logNo=220301668458&proxyReferer=https%3A%2F%2Fwww.google.co.kr%2F
패트롤 영상
https://www.youtube.com/watch?v=gAwYg7k3t5k
네비메시에이전트의 자체적인 사용법은 간단
메뉴에서 Window -> Navigation을 누른 후 BAKE를 누르면 정적인 오브젝트에 대해 네비메시를 생성함
네비메시에이전트는 네비메시가 있는 곳을 기준으로 갈 곳을 정함
스크립트도 굉장히 간단
##
public NavMeshAgent nav; //인스펙터에서 추가해줌
void update(){
nav.destination = 원하는 위치의 position;
}
##
이렇게만해도 잘 쫓아감
구[monster]가 두개의 캡슐[target] 두개를 따라서 이동하는 간단한 스크립트
using System.Collections;
using System.Collections.Generic;
using UnityEngine;
using UnityEngine.AI;
public class monster : MonoBehaviour {
public NavMeshAgent nav; //인스펙터에서 추가
public GameObject[] targets; //인스펙터에서 추가
private int point = 0;
void Start () {
next();
}
// Update is called once per frame
void Update () {
if (!nav.pathPending && nav.remainingDistance < 2f) next();
}
void next()
{
if (targets.Length == 0) return;
nav.destination = targets[point].transform.position;
point = (point + 1) % targets.Length;
}
}
'Unity > 3D' 카테고리의 다른 글
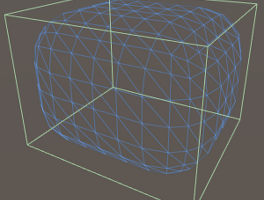
| Unity C# Tutorials - Rounded Cube(Building in 3D) 번역본 (1) | 2019.07.06 |
|---|---|
| Unity C# Tutorials - Procedural Grid (Programming Form) 번역본 (0) | 2019.06.28 |
| Unity 3D Asset - SwingBone trouble shooter #1 (0) | 2017.10.25 |
| Unity 3d - Character Controller 충돌판정에 대한 이해 [C#] (0) | 2017.10.17 |